Introduction
Gingerbread houses bring a magical charm to the holiday season. These edible creations are not only fun to make but also serve as festive centerpieces that showcase your creativity. From simple, child-friendly designs to intricate professional masterpieces, gingerbread houses have become a tradition loved by many.
However, while crafting these delightful decorations is a joy, questions often arise about their durability. For example, how long do gingerbread houses last after making? Understanding the factors that affect their longevity, from recipe choice to storage methods, is essential to keep them looking their best throughout the season.
In this article, we’ll explore everything from crafting a sturdy gingerbread house to decorating tips and storage solutions. We’ll also answer frequently asked questions, like when to start decorating and how to store gingerbread to preserve its freshness. By the end, you’ll have all the knowledge you need to create and maintain your perfect gingerbread house.
Section 1: Crafting Your Gingerbread House
1.1 What Makes a Great Gingerbread House Recipe?
A successful gingerbread house begins with the right recipe. Whether you’re crafting a professional gingerbread house recipe or a larger, more elaborate design, the recipe’s key elements—dough consistency, durability, and flavor—are essential.

First, a sturdy dough ensures your house can hold its shape. The dough should be firm, not overly soft, to prevent sagging or collapsing. For this reason, recipes often call for less leavening agent, as this minimizes puffing and ensures flat, stable panels. Second, durability matters for both small and large gingerbread house recipes. Thicker dough, rolled evenly, provides a solid foundation for assembling walls and roofs. Finally, while aesthetics matter most, flavor shouldn’t be overlooked. Spices like cinnamon, ginger, and cloves create the classic aroma that makes gingerbread houses so festive.
Beginner-Friendly Recipe:
- Ingredients:
- 6 cups all-purpose flour
- 1 teaspoon baking soda
- 1 teaspoon cinnamon
- 1 teaspoon ginger
- 1/2 teaspoon cloves
- 1 cup unsalted butter
- 1 cup brown sugar
- 1 cup molasses
- 2 large eggs
- Instructions:
- Whisk dry ingredients in one bowl. Cream butter, sugar, and molasses in another. Add eggs to the wet mixture, then gradually combine with the dry ingredients.
- Chill dough for at least an hour before rolling out to 1/4-inch thickness.
This recipe yields durable and delicious panels perfect for a gingerbread house.
1.2 Using Gingerbread House Kits for Convenience
For those short on time or looking for an easier option, a gingerbread house kit can be a great solution. Kits come pre-packaged with pre-baked panels, icing, and decorations, removing the guesswork and saving time on preparation.
Pros of Gingerbread House Kits:
- Convenient and beginner-friendly.
- Ideal for kids or group activities.
- Pre-measured and ready-to-use materials.
However, kits can limit customization, and the quality of materials may not match homemade options. If you’re a beginner, start with a kit to familiarize yourself with the assembly process. You can later experiment with homemade recipes as you gain confidence.
1.3 Gingerbread House Templates and Assembly Tips
Precision is key when building a gingerbread house, and gingerbread house templates make the process much easier. These templates serve as guides for cutting dough into uniform pieces, ensuring your walls and roof align perfectly.

How to Use Templates:
- Download a Template: Look online for printable templates designed for different house sizes. For example, a simple A-frame house is great for beginners, while intricate mansions cater to more advanced bakers.
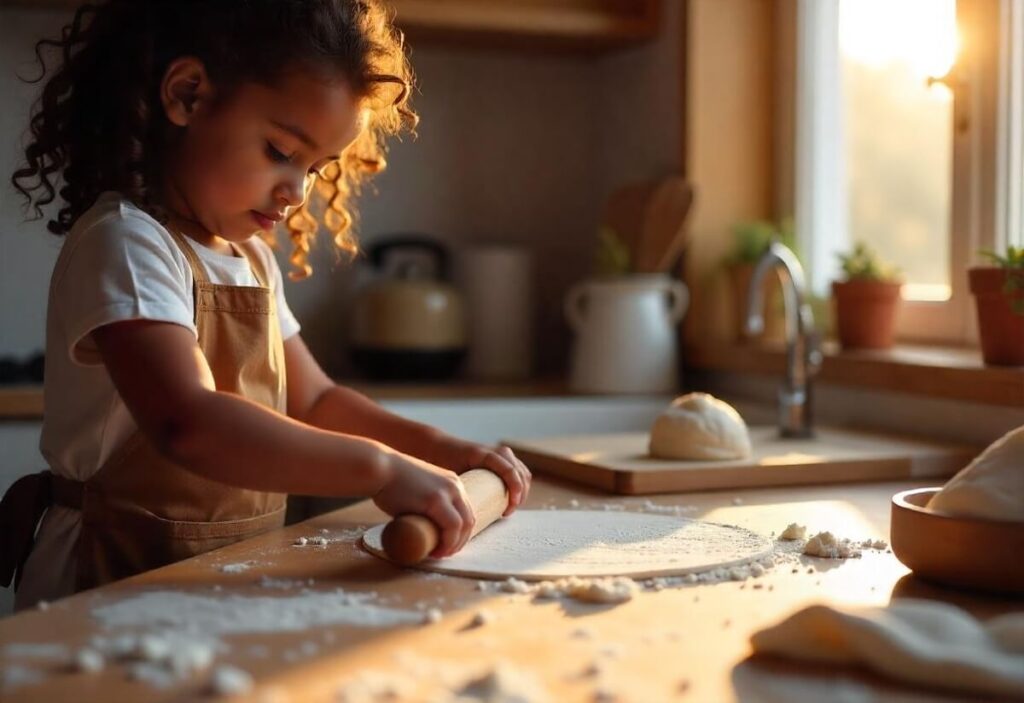
- Cut Dough Using Templates: Lay the template over the chilled dough and cut around it with a sharp knife or pizza cutter.
Step-by-Step Assembly Advice:
- Bake panels thoroughly and let them cool completely before assembly.
- Use royal icing as “glue” for its strength and fast drying properties.
- Assemble walls first, letting the icing set for 15–30 minutes before attaching the roof.
- Support panels with cans or jars during the drying process to prevent shifting.
Templates take the guesswork out of construction, resulting in a polished and professional-looking gingerbread house.
Section 2: Decorating Your Gingerbread House
2.1 When to Start Decorating a Gingerbread House?
Timing is crucial when it comes to decorating a gingerbread house. The best time to start decorating is once the assembled house is completely dry and stable. Allowing the structure to set for at least 12–24 hours ensures the icing “glue” has hardened, preventing walls or roofs from collapsing under the weight of decorations.
Preparation Tips:
- Plan Your Design: Sketch your ideas before you begin. This minimizes guesswork and ensures you have all necessary materials.
- Organize Supplies: Gather candies, icing, and tools in advance. Keeping everything within reach makes decorating more efficient.
- Work in Sections: Focus on one area at a time to prevent smudging or dislodging earlier work.
Transitioning into creativity, decorating is the most fun and personalized part of building a gingerbread house. Whether you’re aiming for a traditional or whimsical design, there are countless ways to bring your vision to life.
2.2 Creative Gingerbread House Decoration Ideas
The magic of gingerbread houses lies in the decorations. With a mix of edible elements, you can craft a masterpiece that reflects your unique style.

Classic Decoration Ideas:
- Candies: Use gumdrops, peppermint swirls, and jelly beans for vibrant colors.
- Icing: Royal icing can create delicate snowdrifts, icicles, or piped patterns on the roof and walls.
- Cookies: Add gingerbread men or small sugar cookies as additional embellishments.
Unique and Whimsical Ideas:
- Edible Glitter: Sprinkle glitter on rooftops or snow to add a touch of sparkle.
- Pretzels: Use pretzel rods for log cabin walls or fences.
- Cereal: Shredded wheat or graham cereal makes a realistic thatched roof.
Decorations not only make your gingerbread house visually stunning but also allow for endless creativity. With a little imagination, you can create a design that’s truly one-of-a-kind.
2.3 Professional Tips for Large Gingerbread Houses
Scaling up to create a large gingerbread house requires extra preparation and care. Here are some tips to ensure success with a large gingerbread house recipe:
- Reinforce the Structure: Use thicker dough for sturdier panels and apply royal icing generously at joints.
- Use a Base: A sturdy base like a wooden board or cardboard keeps the structure stable.
- Decorate Panels Before Assembly: For intricate designs, it’s easier to decorate individual panels flat before constructing the house.
- Support Heavy Decorations: Reinforce roofs and walls with additional supports if adding heavy candies or intricate icing designs.
Crafting a large gingerbread house can be ambitious, but with careful planning and a solid foundation, the results are always worth the effort.
Section 3: Storage and Longevity of Gingerbread Houses
3.1 How Long Do Gingerbread Houses Last After Making?
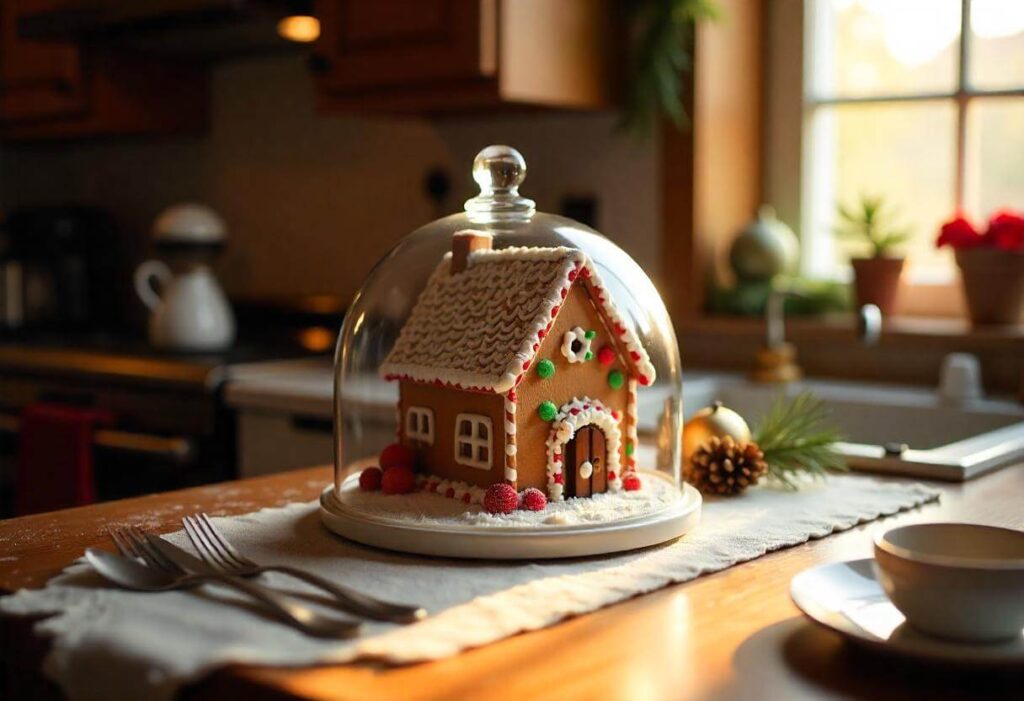
The lifespan of a gingerbread house depends on several factors, including the environment, materials used, and whether it’s intended for decoration or eating. Generally, a gingerbread house can last anywhere from two to four weeks after making, provided it’s kept in ideal conditions.
Factors That Influence Longevity:
- Environment: High humidity or temperature fluctuations can soften the gingerbread or cause icing to melt. Keep your house in a cool, dry area away from direct sunlight.
- Materials: The recipe plays a key role. A dough designed for durability rather than taste—such as those used in professional gingerbread house recipes—tends to last longer. Royal icing, known for its strength, also contributes to structural integrity.
- Usage: If you’re creating a house purely for decoration, it can last longer than one intended to be eaten. For edible gingerbread houses, freshness matters more, and the house should be consumed within a week or two.

3.2 Can Gingerbread Be Made in Advance?
Yes, gingerbread can be made in advance, and this is often recommended to simplify the assembly process. Preparing dough or baked panels ahead of time allows you to focus on building and decorating later.
Best Practices for Preparing in Advance:
- Dough: Gingerbread dough can be prepared up to a week ahead. Wrap it tightly in plastic wrap and store it in the refrigerator. Let it come to room temperature before rolling it out.
- Baked Panels: Bake the panels a few days before assembling. Store them in an airtight container with parchment paper between layers to prevent sticking.
- Icing: Royal icing can also be made a day or two ahead. Keep it covered in an airtight container at room temperature to prevent it from hardening prematurely.
By preparing gingerbread components in advance, you reduce stress and ensure a smoother building process.
3.3 How Long Will Homemade Gingerbread Keep?
Homemade gingerbread can last for several weeks if stored properly, though its freshness may decline after the first week. To maintain its quality, follow these storage guidelines:
- Store in Airtight Containers: Keep gingerbread in airtight containers to protect it from moisture and air, which can make it stale.
- Use Parchment Paper: Place parchment paper between layers to prevent sticking, especially if the gingerbread is intricately cut or decorated.
- Cool Before Storing: Ensure that baked gingerbread is completely cool before placing it in a container to avoid condensation, which could soften the cookies.
If you plan to eat the gingerbread, aim to consume it within one to two weeks for the best flavor and texture. For decorative purposes, properly stored gingerbread can last for several weeks, though it may harden over time.
Section 4: Frequently Asked Questions (FAQs)
When to Start Decorating a Gingerbread House?
Decorating should begin after the house is fully assembled and dry, ideally waiting 12–24 hours for the royal icing to harden. This ensures the structure is stable and can support decorations without collapsing. Plan your design and prepare materials in advance for a smoother process. Working in sections and using sturdy icing as adhesive will also make decorating more efficient and enjoyable.
Can Gingerbread Be Made in Advance?
Yes, gingerbread components can be made ahead to simplify the process. Dough can be prepared and refrigerated up to a week in advance, while baked panels can be stored in airtight containers for several days. Assembling and decorating is much easier when your gingerbread and icing are prepped beforehand.
How Long Will Homemade Gingerbread Keep?
Homemade gingerbread can remain fresh for 1–2 weeks if stored correctly. Use airtight containers and keep the gingerbread away from humidity to maintain its crispness. For decorative purposes, gingerbread can last longer but may lose freshness and soften over time. Proper handling and storage are key to prolonging its quality.
Section 5: Fun Gingerbread House Ideas for All Skill Levels
5.1 Simple and Kid-Friendly Gingerbread Houses
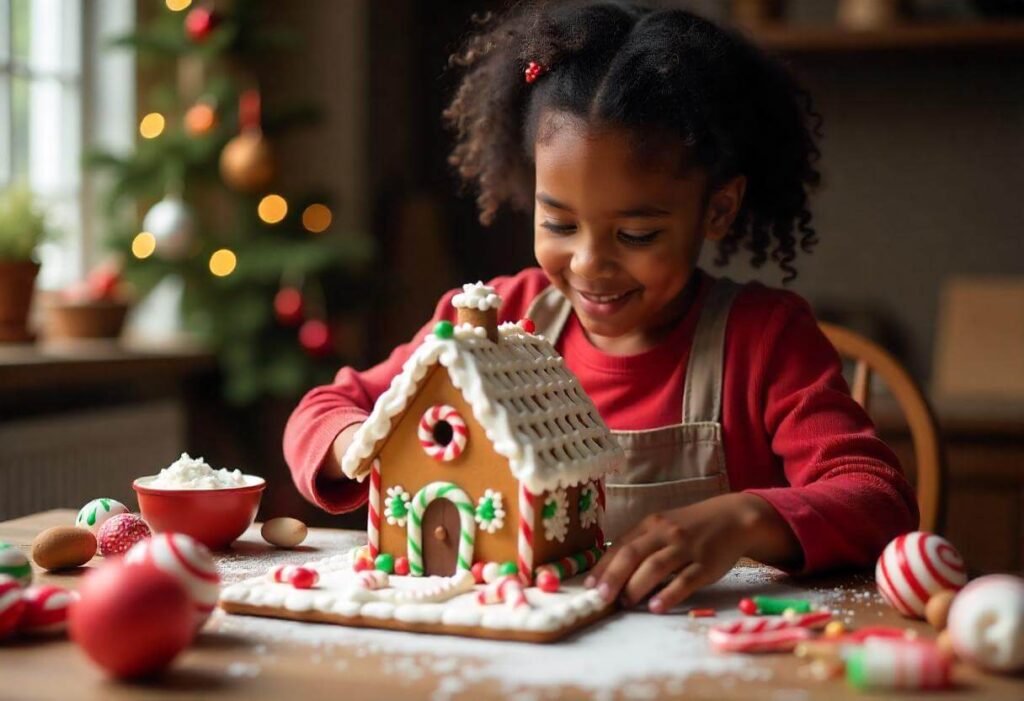
If you’re building with kids, focus on fun and simplicity. Gingerbread house ideas for families should emphasize easy-to-assemble designs and creative decoration options.
Easy Design Ideas:
- Pre-Made Kits: Start with a basic gingerbread house kit. These kits simplify the process and come with child-friendly decorations like gumdrops and candy canes.
- Mini Gingerbread Villages: Create smaller houses using graham crackers. Kids can decorate individual houses, fostering creativity.
- Candy Overload: Let kids experiment with colorful candies, marshmallows, and sprinkles to bring their houses to life.
Tips for Family Fun:
- Set up a decorating station with icing in piping bags, bowls of candy, and edible glitter.
- Encourage storytelling by having kids name their gingerbread creations or add mini gingerbread characters.
- Keep the process mess-free by covering the table with wax paper or a plastic tablecloth.
These kid-friendly projects are not just enjoyable but also create lasting holiday memories.
5.2 Show-Stopping Professional Gingerbread Houses
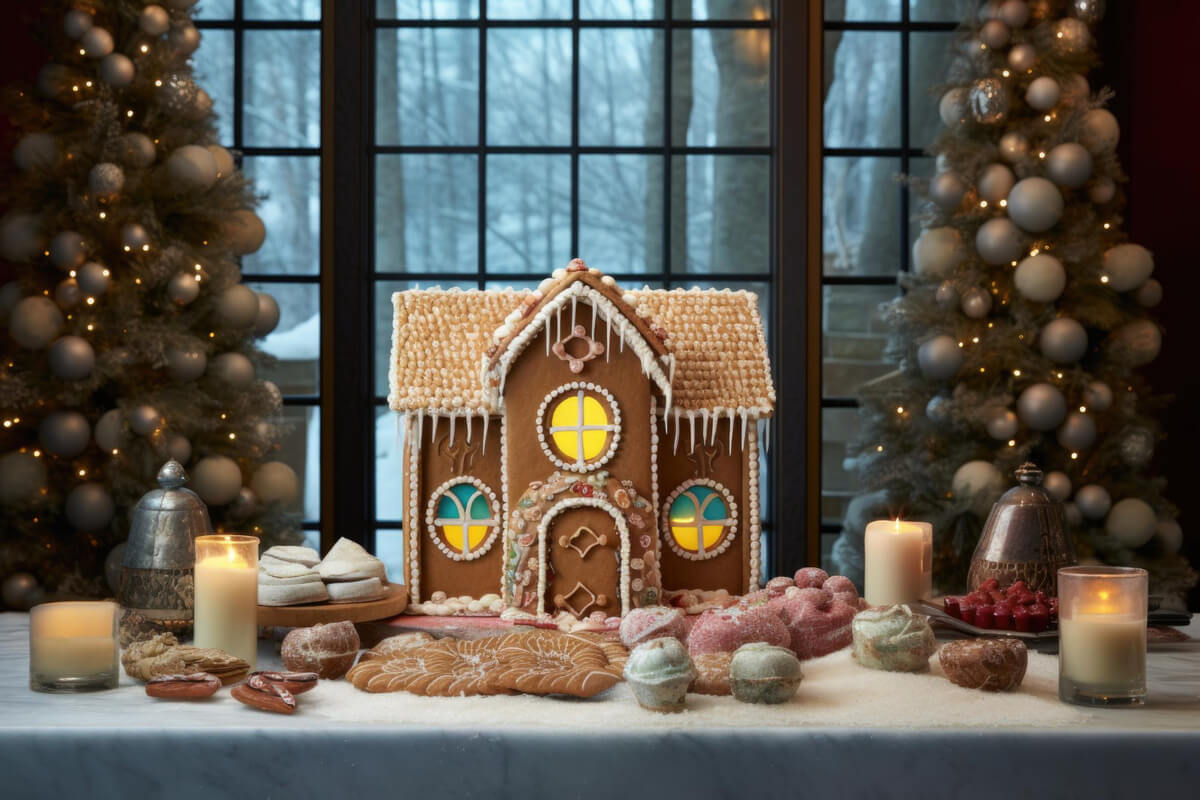
For experienced bakers, crafting a professional-grade gingerbread house is an opportunity to showcase artistic skills. These advanced designs take more time and effort but result in breathtaking creations.
Advanced Design Ideas:
- Victorian Mansion: Use intricate piping techniques and colored royal icing to replicate detailed windows, shingles, and ornate trim.
- Fairy Tale Cottage: Incorporate whimsical elements like chocolate shingles, pretzel fences, and edible sugar flowers.
- Winter Wonderland: Add snowy details using powdered sugar, edible glitter, and carefully sculpted fondant trees.
Techniques for Professional Results:
- Blueprints: Sketch detailed plans or use specialized templates to cut precise panels.
- Edible Construction Materials: Use isomalt for clear sugar windows or melted chocolate for additional structural support.
- Lighting: Add battery-operated LED lights inside the house to create a warm glow.
Pro Tips for Success:
- Build in stages, allowing icing to fully dry between steps.
- Use edible supports, like caramel or candy canes, for heavy or intricate decorations.
- Finish with a custom touch, like a family crest or monogram in icing.
Creating a show-stopping gingerbread house takes patience and skill, but the stunning results make it a highlight of any holiday celebration.
Conclusion
Building a gingerbread house is a delightful way to embrace the holiday spirit, whether you’re crafting a simple design with kids or a show-stopping masterpiece. Throughout this guide, we’ve covered essential tips for crafting sturdy gingerbread houses, decorating them creatively, and ensuring they last as long as possible. From understanding how long gingerbread houses last after making to mastering storage and preparation techniques, you now have all the tools to make your creation a success.
Remember, a gingerbread house can last anywhere from two to four weeks, depending on how it’s made and stored. With proper planning, durable recipes, and a touch of imagination, you can create a festive centerpiece that’s both beautiful and long-lasting.
So why not try making your own gingerbread house this season? Share your creations with friends and family, and let your imagination run wild. After all, the memories you create will last even longer than the gingerbread itself!

